The Honeywell TH8320R1003 is a digital, 7-day programmable thermostat designed for efficient HVAC system control. Part of the VisionPro 8000 series, it offers advanced features for energy efficiency and comfort. This manual provides installation and operating instructions, ensuring proper setup and optimal performance of the device.
1.1 Overview of the Honeywell TH8320R1003 Thermostat
The Honeywell TH8320R1003 is a digital, 7-day programmable thermostat designed for efficient control of heating, ventilation, and air conditioning (HVAC) systems. As part of the VisionPro 8000 series, it offers advanced features like touchscreen navigation, programmable scheduling, and compatibility with a wide range of HVAC systems. This thermostat is ideal for homeowners seeking precise temperature control and energy savings. Its intuitive interface allows users to set custom schedules, adjust settings, and monitor energy usage. The TH8320R1003 also supports remote access through Honeywell Home apps, enabling users to manage their comfort settings from anywhere. With its sleek design and robust functionality, it is a popular choice for modern smart home systems. Proper installation and configuration are essential to unlock its full potential and ensure optimal performance.
1.2 Features and Benefits of the TH8320R1003
The Honeywell TH8320R1003 offers a range of features designed to enhance comfort and energy efficiency. Its 7-day programmable schedule allows users to customize temperature settings for different days and times. The thermostat also features a high-resolution color touchscreen, making it easy to navigate and adjust settings. With geofencing capabilities, it can automatically adjust temperatures based on the user’s location. Additionally, the TH8320R1003 is compatible with smart home systems, enabling seamless integration with other smart devices. It also provides energy usage reports, helping users monitor and reduce their energy consumption. The thermostat supports both heating and cooling systems, including multi-stage systems. Its advanced features ensure optimal performance, while its user-friendly interface makes it accessible for all users. These benefits make the TH8320R1003 a versatile and efficient choice for modern HVAC control.
1.3 Importance of Proper Installation
Proper installation of the Honeywell TH8320R1003 thermostat is crucial for ensuring optimal performance, safety, and energy efficiency. Incorrect installation can lead to malfunctioning, increased energy bills, and potential damage to the HVAC system. Following the installation manual carefully guarantees that the thermostat operates as intended, providing precise temperature control and advanced features. Improper wiring or setup can result in electrical hazards, system incompatibility, or reduced functionality. Additionally, correct installation ensures compliance with safety standards and manufacturer guidelines, which are essential for maintaining the product’s warranty. By adhering to the installation instructions, users can avoid common issues and enjoy reliable, efficient heating and cooling. Proper installation also minimizes the risk of future repairs and ensures the thermostat integrates seamlessly with the existing HVAC system.
Pre-Installation Checklist
Before installing the Honeywell TH8320R1003, verify HVAC system compatibility, gather all required tools, and ensure power is turned off. This checklist ensures a smooth installation process.
2.1 Compatibility Check for HVAC Systems
Before proceeding with the installation, ensure the Honeywell TH8320R1003 is compatible with your HVAC system. This thermostat supports various systems, including forced air, heat pumps, and radiant floor heating. It is compatible with 3-stage heating and 2-stage cooling systems. Verify that your HVAC system requires a 24V AC power supply, as this thermostat is not compatible with millivolt or line-voltage systems. Additionally, check the wiring configuration to ensure it matches the terminal connections on the thermostat. If your system uses a compressor or valve requiring a specific sequence of operations, confirm compatibility with the thermostat’s control logic. Failure to verify compatibility may result in improper system operation or damage to the thermostat. Always refer to your HVAC system’s specifications to ensure seamless integration with the Honeywell TH8320R1003. This step is crucial for a trouble-free installation and optimal performance.

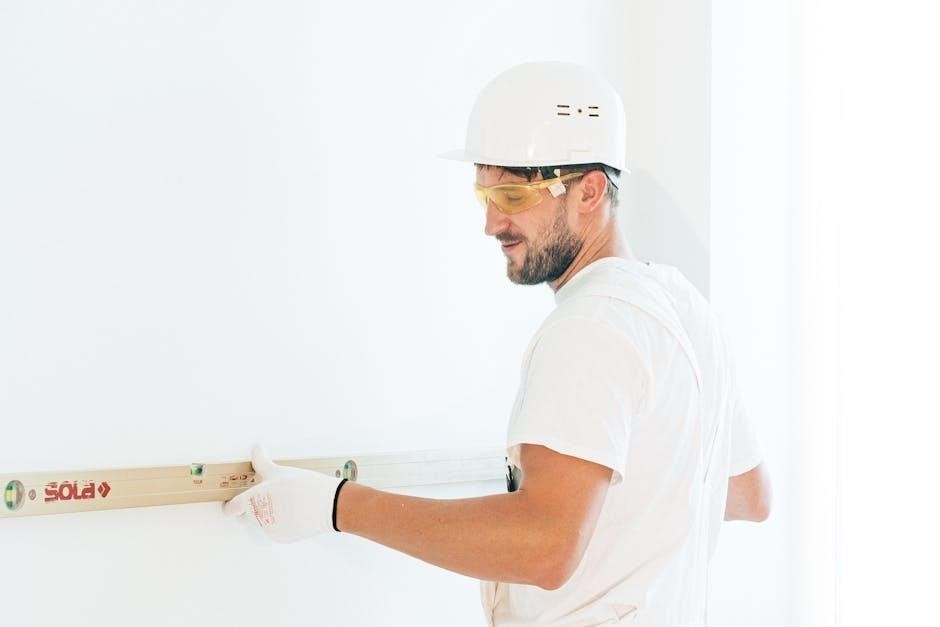
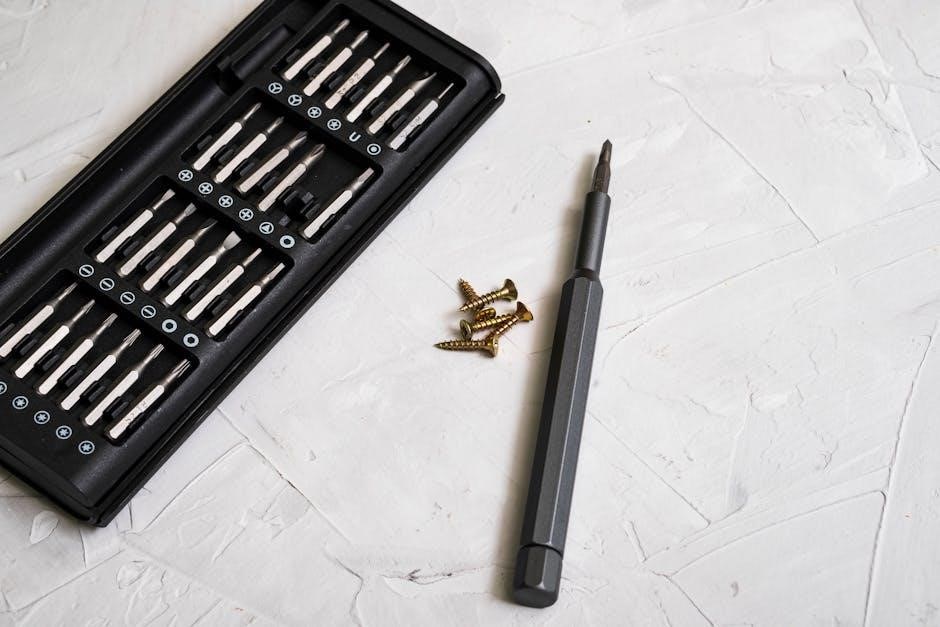
2.2 Tools and Materials Required
To install the Honeywell TH8320R1003 thermostat, gather the necessary tools and materials to ensure a smooth process. You will need a screwdriver (both Phillips and flathead), a drill with bits, wall anchors, and screws for mounting. Additionally, wire strippers and pliers may be required for wiring connections. A voltage tester is essential to safely verify that the power is off before handling any wires. A level tool will help ensure the thermostat is mounted straight. If your system requires a common wire (C-wire), you may need additional wiring materials. Refer to the packaging for any included mounting hardware. Having all tools and materials ready beforehand will save time and prevent delays during installation. Always follow safety guidelines when working with electrical systems to avoid accidents or damage to the thermostat. Proper preparation is key to a successful installation.
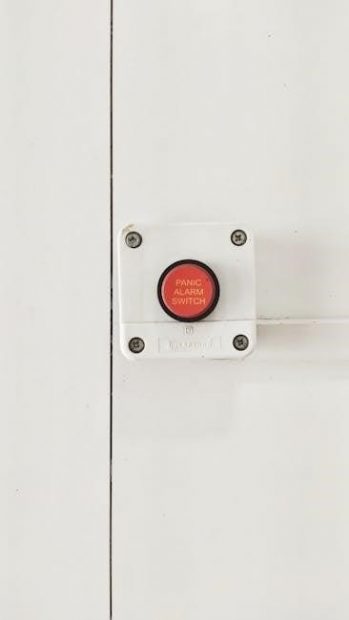
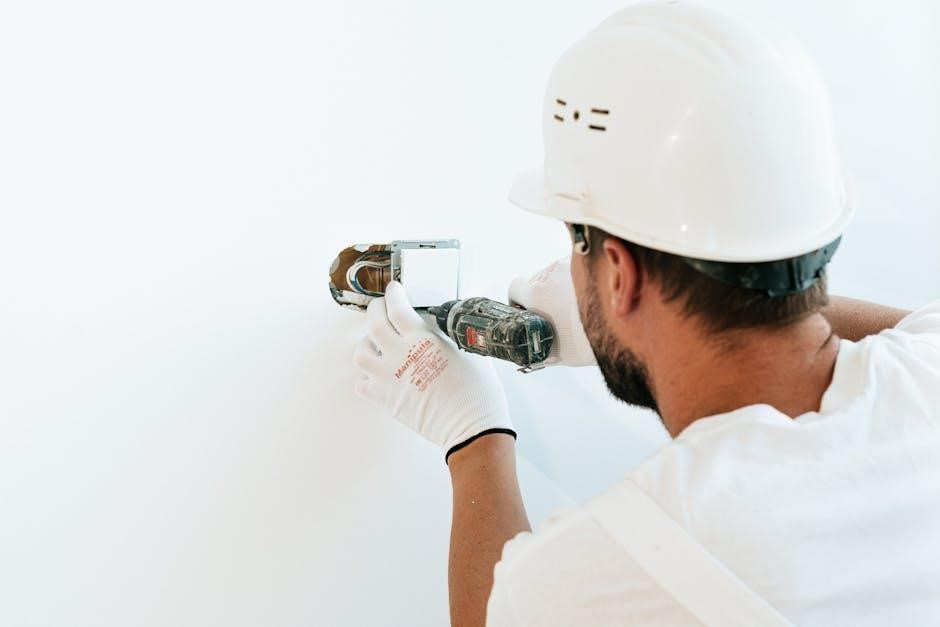
2.3 Safety Precautions Before Starting
Before beginning the installation of the Honeywell TH8320R1003 thermostat, it is crucial to follow safety precautions to avoid accidents or damage. First, ensure the power to your HVAC system is completely turned off at the circuit breaker or fuse box. Verify that the power is off using a voltage tester to prevent electrical shocks or injuries. Familiarize yourself with the wiring diagram and understand the connections to avoid short circuits. Handle the thermostat and wiring carefully to prevent physical damage. Wear safety gloves and eyewear if necessary. If you are unsure about any step, consult a licensed electrician. Always follow the manufacturer’s guidelines and local electrical codes. Taking these precautions ensures a safe and successful installation process. Proper safety measures protect both you and your equipment from potential harm.
Installation Steps
The installation of the Honeywell TH8320R1003 thermostat involves preparing the device, mounting it on the wall, connecting the wiring, and powering it on for the first time.
3.1 Preparing the Thermostat for Installation
Before installing the Honeywell TH8320R1003, ensure all necessary tools and materials are ready. Turn off the HVAC system at the circuit breaker to avoid any electrical hazards. Remove the old thermostat and note the wiring configuration for reference. Gently pull the wires from the old thermostat and label them according to their functions; Clean the wall area where the new thermostat will be mounted to ensure proper adhesion. Open the packaging of the TH8320R1003 and verify all components are included. Insert the batteries into the thermostat if it requires them. Familiarize yourself with the installation manual to understand the mounting bracket and wiring requirements. This preparation ensures a smooth and efficient installation process. Always follow safety guidelines to prevent damage or injury.
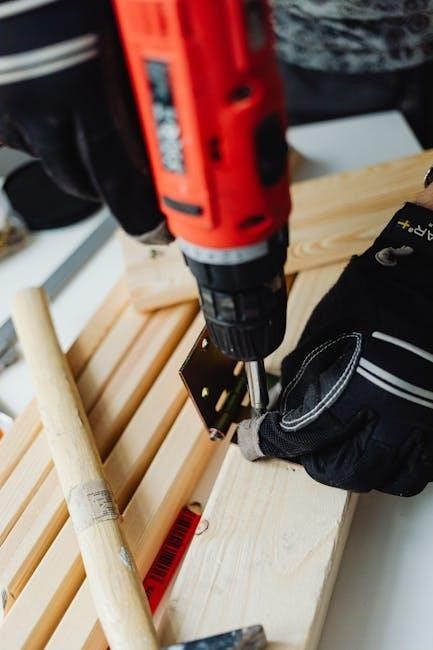
3.2 Mounting the Thermostat on the Wall
To mount the Honeywell TH8320R1003 thermostat, begin by ensuring the wall surface is clean and dry. Use the provided mounting bracket and screw it into the wall, ensuring it is level. If the wall lacks an existing electrical box, mark the screw locations carefully. For double-gang boxes, adjust the bracket accordingly. Drill pilot holes if necessary and secure the bracket with screws. If the wall is made of drywall or plaster, consider using wall anchors for added stability. Once the bracket is firmly attached, align the thermostat with the mounting tabs and gently snap it into place. Ensure the thermostat is securely fastened to prevent any movement. This step is crucial for proper functionality and aesthetic appeal. Always follow the installation manual for specific mounting instructions tailored to your wall type.

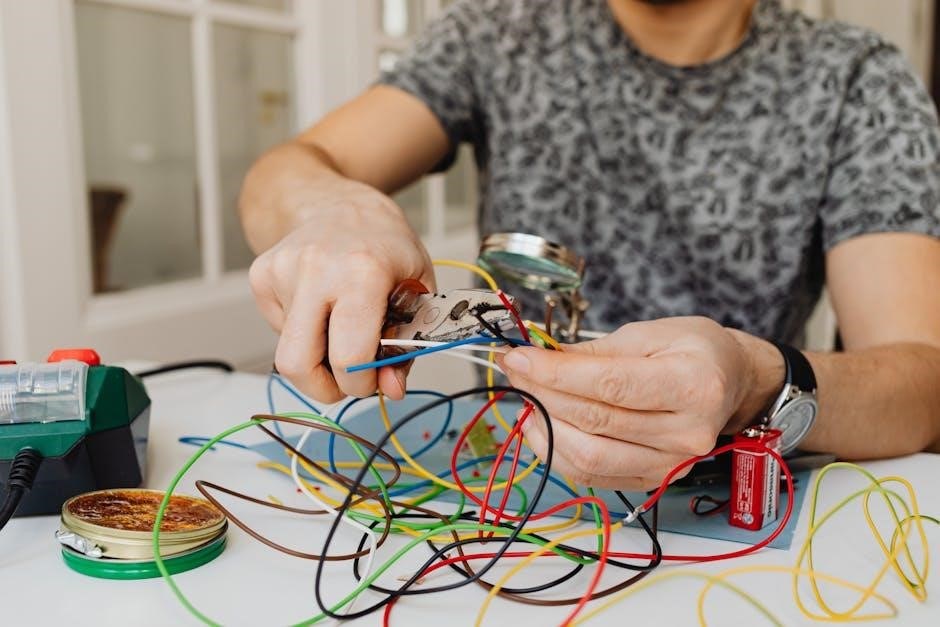
3.3 Connecting the Wiring to the Thermostat
To connect the wiring to the Honeywell TH8320R1003 thermostat, first ensure the HVAC system is turned off at the circuit breaker. Remove the old thermostat and identify the wires by their terminals (e.g., R, W, Y, G, C). Carefully connect the wires to the corresponding terminals on the new thermostat. Match the wires according to the installation manual or the wiring diagram provided. Secure each wire tightly to avoid loose connections. If your system requires a common wire (C), ensure it is properly connected to enable advanced features like Wi-Fi functionality. After wiring, double-check all connections for accuracy. If unsure, consult a licensed electrician to avoid potential damage or safety hazards. Proper wiring ensures the thermostat operates efficiently and controls your HVAC system effectively. Always refer to the manual for specific wiring requirements.
3.4 Powering On the Thermostat for the First Time
After completing the wiring connections, turn the power back on at the circuit breaker. The Honeywell TH8320R1003 thermostat should power on automatically. Ensure the display lights up and initializes properly. If the screen remains blank, check the wiring connections, especially the common wire (C), as it is essential for powering the thermostat. Once powered on, the thermostat will enter setup mode, prompting you to configure basic settings like time, date, and temperature units. Follow the on-screen instructions to complete the initial setup. If issues arise, such as flickering or no display, verify all connections or consult the manual for troubleshooting steps. Proper power-up ensures the thermostat functions correctly and integrates with your HVAC system seamlessly. Always refer to the installation manual for specific power-on procedures and guidelines.
Configuration and Programming
This section guides you through setting up the thermostat, including scheduling, HVAC settings, and advanced features, ensuring optimal performance and energy efficiency for your home.
4.1 Setting Up the Initial Configuration
Setting up the initial configuration of the Honeywell TH8320R1003 thermostat involves several key steps. First, you’ll need to power on the device and follow the on-screen prompts to select your preferred language and unit of measurement for temperature display. Next, you’ll configure the date and time settings to ensure accuracy in scheduling. The thermostat will also guide you through setting up your HVAC system type, such as forced air, heat pump, or radiant floor heating, to optimize performance. Additionally, you’ll have the option to enable features like smart recovery, which learns your system’s operation to preemptively adjust temperatures. Ensuring these initial settings are correctly configured is crucial for smooth operation and energy efficiency. Proper setup also allows for seamless integration with other smart home devices if applicable.
4.2 Programming the Weekly Schedule
Programming the weekly schedule on the Honeywell TH8320R1003 thermostat allows you to customize temperature settings for different times of the day and days of the week. Using the touchscreen interface, you can set specific temperatures for wake, leave, return, and sleep periods. The thermostat offers a 7-day programming option, enabling you to create unique schedules for each day if needed. To begin, navigate to the programming menu and select the day(s) you wish to configure. Set your desired temperature and time for each period, ensuring consistency or variability as per your lifestyle. The thermostat also provides a “copy” feature to replicate settings across multiple days, saving time. Once programmed, the device will automatically adjust temperatures according to your schedule, optimizing comfort and energy efficiency. Regularly reviewing and updating your schedule can help maintain optimal performance and tailor the system to your changing needs.
4.3 Adjusting HVAC System Settings
Adjusting the HVAC system settings on the Honeywell TH8320R1003 thermostat allows for precise control over heating and cooling operations. Start by accessing the main menu and selecting “System” to view options like heat, cool, and fan modes. Choose the appropriate heating type (e.g., gas, electric) and cooling type (e.g., central air) based on your system. Set the temperature range and fan mode (“Auto” or “On”) to optimize energy use and comfort. The fan circulation feature can be enabled for better temperature distribution. Adjust the temperature swing (1-3 degrees) to balance energy savings with comfort. Disable unnecessary features like geothermal or two-stage systems if not applicable. Set the system mode to “Auto” for the thermostat to automatically switch between heating and cooling. Save your settings and test them, making adjustments as needed for optimal performance.
4.4 Enabling Advanced Features
To enable advanced features on the Honeywell TH8320R1003, navigate to the main menu and select “Advanced” or “Features.” Here, you can activate geofencing, which uses your smartphone’s location to optimize energy use when you’re away. Enable smart recovery to allow the thermostat to learn your system’s heating and cooling patterns for efficient temperature adjustments. Activate energy reports to gain insights into your energy consumption and identify savings opportunities. Additionally, enable remote access to control your thermostat via the Honeywell Home app, ensuring it’s connected to your Wi-Fi network. You can also set up reminders for filter changes and system maintenance to keep your HVAC system running efficiently. Explore these settings to customize your experience and enhance performance.
Troubleshooting Common Issues
Troubleshooting the Honeywell TH8320R1003 involves addressing issues like power outages, wiring problems, or display malfunctions. Check connections and ensure proper installation to resolve most common concerns effectively.
5.1 Resolving Power Issues
If the Honeywell TH8320R1003 thermostat is not powering on, check the circuit breaker or fuse box to ensure the power supply is intact. Verify that all wiring connections are secure and correct, as loose or incorrect connections can cause power issues. If the thermostat is battery-powered, replace the batteries with fresh ones. Ensure the thermostat is properly mounted and configured. If issues persist, consult the installation manual or contact a professional for assistance. Always follow safety precautions when handling electrical systems to avoid potential hazards.
5.2 Fixing Wiring Connections
To resolve wiring issues with the Honeywell TH8320R1003, first, ensure the power to the HVAC system is turned off at the circuit breaker. Inspect all wiring connections for looseness or damage. Verify that the wires are correctly matched to their respective terminals as per the installation manual. If a wire is damaged, replace it with a compatible one. Use a multimeter to check for short circuits or open connections. Ensure the common (C) wire is properly connected if required by your system. After correcting the wiring, restore power and test the thermostat’s functionality. If issues persist, consult a licensed electrician or HVAC professional for further assistance.
5.3 Addressing Display Malfunctions
If the Honeywell TH8320R1003 display is malfunctioning, start by ensuring the thermostat is properly powered. Check for loose wiring connections, especially the common (C) wire, which may cause display issues. Restart the device by turning the power off at the circuit breaker for 30 seconds and then restoring it. If the display remains blank, check the battery levels if applicable. Clean the screen gently with a soft cloth to remove any dirt or smudges that might interfere with visibility. If the display is unresponsive, perform a factory reset by pressing and holding the menu button for 10 seconds. If these steps fail, refer to the installation manual or contact Honeywell support for further troubleshooting or potential replacement.
5.4 Solving Wi-Fi Connectivity Problems
Ensure the Honeywell TH8320R1003 is connected to your home Wi-Fi network by checking the network name and password. Reset the router or modem if necessary. Restart the thermostat by turning off power at the circuit breaker for 30 seconds. Factory reset the device by pressing and holding the menu button for 10 seconds. Ensure the thermostat’s firmware is updated. Verify the Wi-Fi signal strength and move the router closer if needed. Disable any VPNs or firewalls that might block connectivity. Check for conflicting devices on your network. If issues persist, refer to the installation manual or contact Honeywell support for assistance. Proper connectivity ensures remote access and smart features function optimally.

Maintenance and Upkeep
Regularly clean the thermostat, update firmware, and check battery levels to ensure optimal performance. Perform routine system checks to maintain energy efficiency and functionality. Refer to the manual for specific guidance.
6.1 Cleaning the Thermostat
Cleaning the Honeywell TH8320R1003 thermostat is essential for maintaining its performance. Use a soft, dry cloth to gently wipe the display and exterior surfaces. Avoid harsh chemicals or liquids, as they may damage the device. For stubborn dust or debris, slightly dampen the cloth but ensure it is not soaking wet. Regular cleaning prevents dust buildup, which can interfere with temperature sensing and touchscreen functionality. Always power down the thermostat before cleaning to avoid any accidental settings changes or electrical issues. Proper maintenance ensures accurate temperature control and extends the product’s lifespan. Refer to the user manual for detailed cleaning instructions tailored to this model.
6.2 Updating Firmware
Updating the firmware of your Honeywell TH8320R1003 thermostat is crucial for ensuring optimal performance and accessing new features. To check for updates, navigate to the thermostat’s menu and select the “Update” option. If an update is available, follow the on-screen instructions to download and install it. For manual updates, use a USB drive with the latest firmware downloaded from Honeywell’s official website. Insert the USB into the thermostat, and it will automatically detect and install the update; Always ensure the system is powered on during the update process to prevent interruptions. After completion, restart the thermostat to apply the changes. Regular firmware updates enhance functionality, improve compatibility, and resolve any bugs. Refer to the user manual for detailed steps and troubleshooting tips specific to this model.
6.3 Checking Battery Levels
The Honeywell TH8320R1003 thermostat operates on battery power, and maintaining proper battery levels is essential for reliable operation. To check the battery level, navigate to the “Settings” menu on the thermostat’s display and select “Battery Status.” A low battery indicator will appear when the battery level drops below a certain threshold. Replace the batteries with high-quality alkaline batteries as specified in the manual. Avoid mixing old and new batteries to ensure consistent power supply. If the thermostat’s display dims or buttons become unresponsive, it may indicate low battery levels. Regularly checking and replacing batteries prevents unexpected shutdowns and ensures accurate temperature control. Refer to the user manual for specific instructions on accessing the battery compartment and replacing the batteries safely.
6.4 Regular System Checks
Regular system checks are crucial to ensure the Honeywell TH8320R1003 thermostat operates efficiently and maintains optimal performance. Start by verifying that all wiring connections are secure and free from damage. Check for dust or debris accumulation on the thermostat’s display and internal components, as this can affect accuracy. Ensure the thermostat is properly leveled on the wall to avoid calibration issues. Additionally, inspect the HVAC system for any blockages or leaks that might impact performance. Schedule these checks at least once every six months or as recommended in the manual. Regular maintenance helps prevent malfunctions, ensures energy efficiency, and prolongs the lifespan of both the thermostat and the HVAC system. Always refer to the user manual for specific guidance on performing these checks safely and effectively.
The Honeywell TH8320R1003 installation manual provides comprehensive guidance for successful setup and operation. Proper installation and regular checks ensure optimal performance and energy efficiency. Refer to the manual for future needs.
7.1 Summary of Key Installation Steps
The Honeywell TH8320R1003 installation involves several critical steps to ensure proper functionality. Begin by preparing the thermostat, including removing the old device and ensuring compatibility with your HVAC system. Mount the new thermostat on the wall, carefully following the provided template to drill holes and secure the baseplate. Next, connect the wiring according to the manufacturer’s instructions, paying attention to the correct terminal labels to avoid errors. After wiring, power on the thermostat and complete the initial setup, including setting the date, time, and HVAC system configuration. Finally, test the system to ensure all components function correctly. Adhering to these steps guarantees a smooth and efficient installation process, maximizing the thermostat’s performance and energy-saving features.
7.2 Final Tips for Optimal Performance
To ensure the Honeywell TH8320R1003 operates at its best, regular maintenance and smart usage are essential. Always keep the thermostat clean to prevent dust buildup, which can affect temperature accuracy. Schedule periodic checks of the wiring connections to avoid signal interference or disconnections. Utilize the programmable features to create a customized weekly schedule, optimizing energy usage based on your daily routines. Additionally, enable geofencing and smart recovery options to enhance energy efficiency. Regularly update the thermostat’s firmware to access new features and improvements. By following these tips, you can maximize the thermostat’s performance, reduce energy consumption, and enjoy consistent comfort in your home.
7.3 Importance of Following the Manual
Adhering to the Honeywell TH8320R1003 installation manual is crucial for ensuring proper setup and functionality. Deviating from the guidelines can lead to incorrect wiring, which might damage the thermostat or your HVAC system. The manual provides step-by-step instructions to guarantee safety and efficiency during installation. It also highlights safety precautions, such as turning off the power supply before starting the process, to prevent electrical hazards. By following the manual, users can avoid common issues like wiring errors or connectivity problems. Proper installation ensures optimal performance, energy efficiency, and compliance with manufacturer recommendations. This not only prolongs the lifespan of the thermostat but also guarantees warranty validity and safe operation of your HVAC system.