
The Honeywell Vision Pro 8000 Thermostat offers advanced features‚ including a touch-screen interface and programmable settings‚ designed to enhance home comfort and energy efficiency seamlessly.
1.1 Overview of the Honeywell Vision Pro 8000 Series
The Honeywell Vision Pro 8000 Series offers a range of programmable thermostats designed to enhance home comfort and energy efficiency. These thermostats feature touch-screen interfaces‚ advanced scheduling options‚ and compatibility with various HVAC systems. They are known for their user-friendly design‚ making it easier for homeowners to manage their heating and cooling settings efficiently. The series includes models like the TH8110R1008‚ which supports single-stage systems‚ and others that work with more complex setups‚ ensuring versatility for different household needs. With a focus on seamless integration and smart home capabilities‚ the Vision Pro 8000 Series is a popular choice for modern homeowners seeking both convenience and energy savings. By providing precise temperature control and intuitive programming‚ these thermostats help optimize energy usage while maintaining a comfortable living environment. Their durability and reliability make them a long-term solution for home climate control. Additionally‚ Honeywell’s commitment to innovation ensures that the Vision Pro 8000 Series stays at the forefront of thermostat technology‚ offering features that adapt to changing homeowner needs and advancements in smart home technology. Overall‚ the Honeywell Vision Pro 8000 Series represents a significant advancement in thermostat design‚ combining functionality‚ efficiency‚ and ease of use to meet the demands of contemporary living.
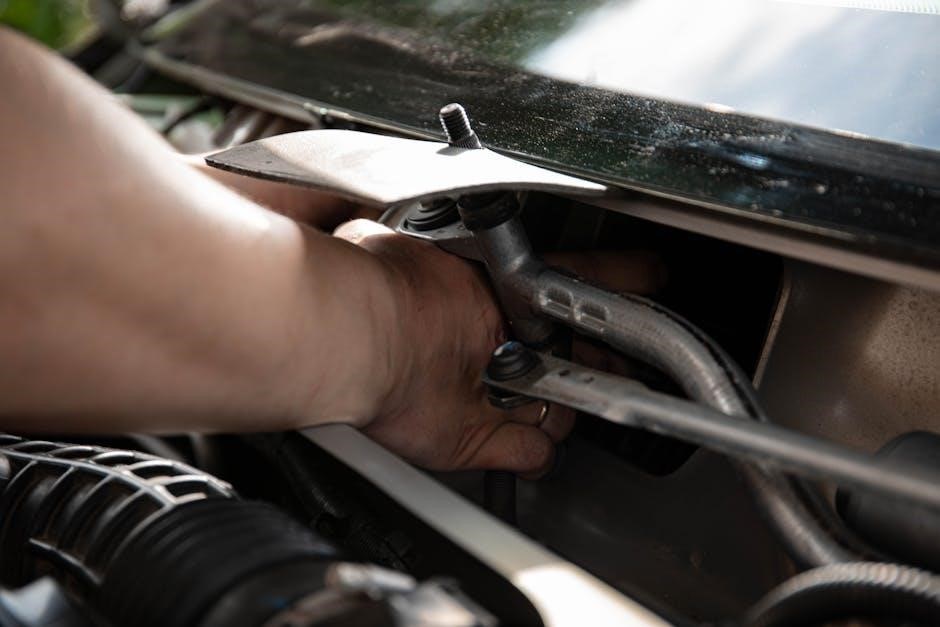
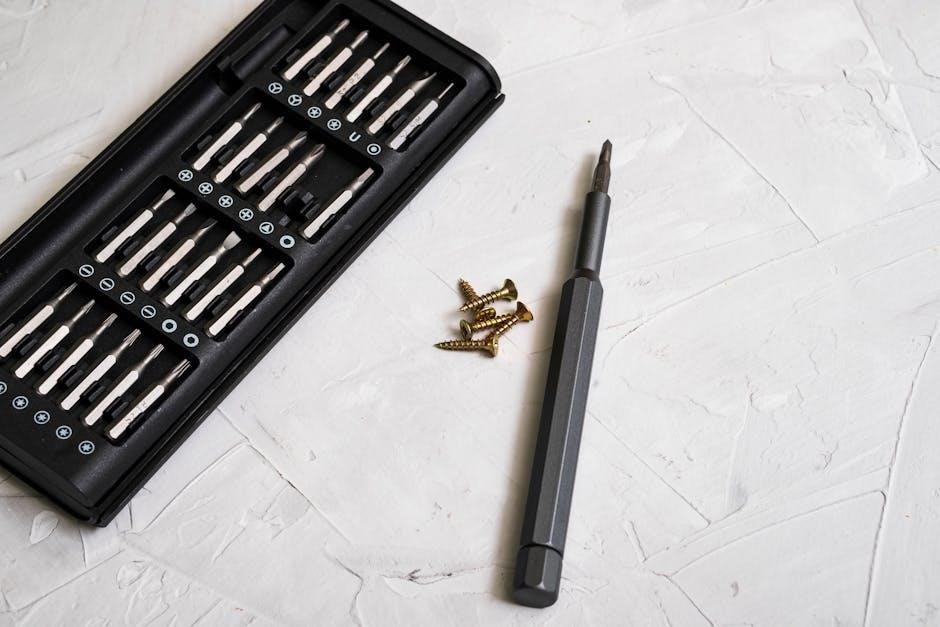
The Honeywell Vision Pro 8000 Thermostat boasts a high-resolution touch-screen display‚ allowing for intuitive navigation and programming. It features advanced scheduling options‚ enabling users to set customized heating and cooling programs. The thermostat is compatible with a wide range of HVAC systems‚ including heat pumps‚ and offers precise temperature control. Energy-saving modes and smart home integration further enhance its functionality‚ making it a versatile and efficient choice for modern households. Its user-friendly interface ensures ease of operation‚ while its robust design guarantees long-term reliability and performance. Additionally‚ the thermostat supports Wi-Fi connectivity‚ enabling remote monitoring and control through compatible apps. This feature-rich device is designed to optimize energy usage while maintaining a comfortable indoor environment‚ making it a preferred option for homeowners seeking both convenience and efficiency. The Honeywell Vision Pro 8000 Thermostat truly stands out with its blend of innovation and practicality‚ catering to diverse heating and cooling needs effectively. Before installing the Honeywell Vision Pro 8000 Thermostat‚ ensure compatibility with your HVAC system‚ gather necessary tools‚ and turn off power to the system. Ensure your HVAC system is compatible with the Honeywell Vision Pro 8000 Thermostat. It supports single-stage‚ multi-stage‚ and heat pump systems. Verify the thermostat’s compatibility with your system type‚ such as gas‚ electric‚ or dual-fuel systems. Check the wiring requirements and ensure your system matches the thermostat’s terminal connections. Refer to the installation manual for specific compatibility details‚ including supported stages and system types. This step is crucial for proper functionality and safe installation. To install the Honeywell Vision Pro 8000 Thermostat‚ you’ll need a flathead screwdriver‚ Phillips screwdriver‚ wire strippers‚ and a drill with bits. Additional materials include wall anchors‚ screws‚ and a mounting bracket. Ensure you have the installation manual and any specific components provided with the thermostat. Optional tools like a voltage tester are recommended for safety. Gather all items before starting to ensure a smooth and efficient installation process. Mount the thermostat‚ connect the wiring according to the diagram‚ and finalize the setup by configuring basic functions and testing the system for proper operation. Begin by selecting a suitable location for the thermostat‚ ensuring it is level and away from direct sunlight or drafts. Remove the existing thermostat and carefully disconnect the wires. Use the provided mounting hardware to secure the base plate to the wall‚ ensuring it is straight and level. Gently attach the thermostat unit to the base plate‚ making sure it clicks securely into place. Finally‚ turn the power back on and test the thermostat’s basic functions to confirm proper installation. When connecting the wiring for the Honeywell Vision Pro 8000‚ ensure the power is turned off at the circuit breaker. Match the wires to the correct terminals on the thermostat‚ referencing the wiring diagram in the manual. Securely connect each wire to its corresponding terminal‚ ensuring no loose connections. Once all wires are properly connected‚ double-check the setup to avoid errors. Turn the power back on and test the system to confirm it operates correctly. After connecting the wiring‚ restore power to the HVAC system and test the thermostat’s functionality. Ensure the display lights up and all buttons respond. Run a test cycle for heating‚ cooling‚ and fan modes to confirm proper operation. If everything works‚ secure the thermostat to the wall using the provided screws. Finally‚ dispose of any packaging materials and refer to the user manual for initial setup instructions to complete the installation process. Refer to the wiring diagram for proper terminal connections‚ ensuring R‚ W‚ Y‚ G‚ and C wires are securely attached to the correct ports for HVAC system compatibility. Understanding the wiring diagram is crucial for installing the Honeywell Vision Pro 8000. It provides a visual guide for connecting wires to specific terminals‚ ensuring proper functionality. Each terminal corresponds to a particular HVAC component‚ such as heating‚ cooling‚ or fan control. The diagram helps identify the correct placement of R‚ W‚ Y‚ G‚ and C wires‚ preventing installation errors. Always cross-reference the diagram with your system’s requirements to ensure compatibility and safe operation. Connecting the Honeywell Vision Pro 8000 to heat pumps and HVAC systems requires careful attention to wiring configurations. Ensure compatibility by verifying the system type and wiring requirements. For heat pumps‚ connect the appropriate wires to the thermostat’s terminals‚ such as Y for cooling and W for heating. Use the wiring diagram to match each wire to the correct terminal. Proper connections ensure efficient operation and prevent system malfunctions. Always refer to the installation manual for specific instructions tailored to your HVAC setup. After installation‚ configure basic settings like time‚ date‚ and fan operation. Set up energy-saving schedules and customize advanced features for optimal performance and energy efficiency. After installation‚ begin by setting the time and date using the touch-screen interface. Navigate to the menu‚ select “Time/Date‚” and input the current information. Next‚ configure the fan settings by choosing from options like “Auto” or “On” to control airflow; Set your preferred temperature range and ensure the thermostat is in the correct mode (Heating/Cooling). Finally‚ review and save your settings to ensure proper operation. This step ensures your HVAC system operates according to your preferences and schedule. Access advanced settings by navigating to the menu and selecting “Advanced” or “Settings.” Enable features like Wi-Fi connectivity to control the thermostat remotely via the Honeywell Home app. Set up geofencing to adjust temperatures based on your location. Create custom schedules or use pre-programmed energy-saving options. Adjust temperature limits and differential settings for precise control. Enable notifications for system alerts and maintenance reminders. Explore energy usage reports to monitor and optimize your consumption. These features enhance convenience‚ efficiency‚ and system performance‚ ensuring optimal comfort and energy savings. Address issues like blank displays‚ connectivity problems‚ or inaccurate temperature readings by checking wiring connections‚ resetting the thermostat‚ and ensuring proper system calibration. During installation‚ common errors may include incorrect wiring connections or system incompatibility. Ensure all wires match the diagram and your HVAC system is compatible. If the thermostat fails to power on‚ check circuit breakers and wiring integrity. For display issues‚ reset the device by removing batteries or cycling power. Refer to the manual for troubleshooting specific error codes‚ such as “E1” or “E2‚” which often indicate wiring or configuration problems. Addressing these promptly ensures smooth operation and avoids further complications. The Honeywell Vision Pro 8000 may display error codes like “E1” or “E2‚” indicating issues such as temperature discrepancies or sensor malfunctions. “E1” often relates to a significant temperature difference between the setpoint and actual reading‚ while “E3” may signal wiring or connection problems. Solutions include checking sensor accuracy‚ verifying wiring connections‚ and ensuring proper system setup. Refer to the manual for specific code meanings and corrective actions. Resetting the system or consulting a professional can resolve persistent issues effectively. After installation‚ test all functions to ensure proper operation; Register your thermostat for warranty and support. Contact Honeywell support for post-installation assistance or troubleshooting. After installation‚ perform a thorough system check to ensure all features function correctly. Test heating‚ cooling‚ and fan modes to confirm proper operation. Verify the touch-screen display responds accurately and all programmed settings are active. Check for any error codes and resolve them promptly. Ensure Wi-Fi connectivity‚ if applicable‚ and test remote access functionality. Finally‚ review the user manual for any additional post-installation tests or recommendations to ensure optimal performance and energy efficiency. Complete the registration process online or through Honeywell’s app to activate your thermostat’s warranty. Provide the serial number and purchase details to ensure coverage. Registration also unlocks access to exclusive features‚ software updates‚ and customer support. Visit Honeywell’s official website for step-by-step registration instructions‚ ensuring your device is recognized and benefits are fully utilized. This step is crucial for maintaining warranty validity and receiving future updates‚ enhancing your thermostat’s performance and longevity.1.2 Key Features of the Thermostat

Pre-Installation Requirements
2.1 Compatibility Check for HVAC Systems
2.2 Tools and Materials Needed for Installation
Installation Steps
3.1 Mounting the Thermostat
3.2 Connecting the Wiring

3.3 Finalizing the Installation
Wiring Diagrams and Connections
4.1 Understanding the Wiring Diagram
4.2 Connecting to Heat Pumps and HVAC Systems

Post-Installation Configuration
5.1 Setting Up the Thermostat’s Basic Functions
5.2 Configuring Advanced Features
Troubleshooting Common Issues
6.1 Identifying and Resolving Installation Errors
6.2 Understanding Error Codes and Solutions
7.1 Final Checks and Testing
7.2 Registering the Thermostat and Warranty Information